No need to juggle appointments. No running from place to place quietly melting down on your cell phone when you want to be comfortably wrapped in a robe sipping something sparkly. An entire budget that’s suddenly free as a bird flying on the hundred dollar bills you didn’t spend. The opportunity to do your own bridal beauty is a gift in itself. You can truly have a sense of control over your own day. And with the help of industry experts that are doling out the tips they use on high-profile clients and red carpet celebs alike, you’re given a picture-window view of ways to upgrade your personal technique that can be useful in perpetuity.
Below, our first volume in the At-Home Bridal Beauty Series: Skin…
THE MONTHS AHEAD: DERMATOLOGIST MUSTS
“Start thinking about your skin at least six months prior to your wedding so that there is time to achieve your goals,” explains board-certified dermatologist and founder of SoHo’s airy Weiser Skin MD clinic Dr. Jessica Weiser, MD FAAD. “Skincare regimens take time to take effect and this is unlikely to happen in a few weeks,” she notes.
As Assistant Clinical Professor of Dermatology at Columbia University, establishing a proper routine is Dr. Weiser’s first lesson in maximizing the following advice. “The cornerstones of an excellent skincare regimen include active protective products (think antioxidants and sunscreen) in the morning and excellent restorative and hydrating products (corrective products, serums, creams) at bedtime,” she notes.
For brides who are pulling something together with just a few days to work with, skip down to Lord Gavin’s tips. Dr. Weiser suggests that to achieve the below, start by focusing on your skin type–dry, acne-prone, pigment-prone–so that you can be sure to choose products appropriate to your skin type.
For pigment-prone skin:
Choose a vitamin C serum that has a higher percentage of vitamin C (15-20%) to help even and brighten skin tone while it protects against further damage (1). Be sure to wear a physical barrier sunscreen and consider choosing one that contains lutein or fragmented melanin complex to additionally protect against high energy visible (HEV) or blue light from screens which can worsen pigmentation (2). Reapply sunscreen with lotion/cream or using a zinc oxide powder sunscreen at least every two hours (3).
Avoid excessive heat (extremely hot beverages, infrared sauna, hot yoga) which is also a trigger for pigmentation.
At bedtime, choose a brightening serum containing cysteamine, a potent antioxidant that can reduce overall pigmentation to even skin tone, or licorice root extract, another natural lightening agent (4). Consider a once weekly at home chemical peel to further reduce pigment and brighten skin (5).
For dry skin:
Look for gentle cleansers that will not irritate skin (1). In the morning opt for products with vitamin B5 to protect and maintain moisture (2). Choose hyaluronic acid at bedtime to draw moisture to the skin surface and trap it in place with rich moisturizing creams (3). Consider using overnight moisturizing masks for added hydration (4). Use bakuchiol, a plant based retinol-alternative instead of Retin-A to gain the collagen stimulating and anti-aging benefits without the redness and irritation common from retinoid application (5).
For acne-prone skin:
In the morning consider adding an antiinflammatory ingredient like Niacinamide or azelaic acid to calm redness on the skin to even the skin tone (1).
At bedtime, use a chemical exfoliant twice weekly with alpha and beta hydroxy acids which have antibacterial and keratolytic effects, respectively (2). Consider using a sulfur mask once weekly to keep skin calm and reduce excess oils if present or use a low strength glycolic acid serum to encourage skin turnover and even skin tone (3). Avoid occlusive moisturizers, instead choosing those with glycerin and squalane as non-comedogenic emollients (4).
For aging skin:
Choose high potency antioxidant serums that contain multiple active antioxidant ingredients in a single product (1). At bedtime, exfoliate twice a week with either chemical or physical exfoliants (or once with each) to encourage cell turnover and brighten skin tone (2). Use a pea-sized amount of retinol or prescription retinoid at least 3-4 times a week to soften fine lines, refine pores, and improve overall skin quality (3). Add serums and creams containing defensins – small molecule mediators that stimulate stem cells to produce new skin cells (4). Consider handheld microcurrent devices to stimulate skin and improve/maintain skin tautness (5).
THE DAY OF: CELEBRITY FACIALIST TIPS
“I take the same approach to brides on their wedding day, as I do with my celebrity clients for big events such as the Oscars: The key is to use simple, gentle and effective skincare to minimize any risk of last-minute sensitivity or break-outs and to amplify the skin’s appearance,” says celebrity facialist Lord Gavin McLeod-Valentine, whose client roster reads like film credits: Laura Dern, Olivia Coleman, Julia Garner, Kristen Stewart, Kristen Bell, Michelle Williams. “I like to pair everything back to keep skin fresh, alert and naturally glowy. On special occasions I treat the skin the way I would that of a baby – be soft, be gentle like it’s the most delicate thing on earth,” he notes. Rather than adding an irritating step to your routine, consider a de-puffing eye treatment or soothing facial massage to sculpt your natural angles rather than disrupt skin’s balance.
STEP 1. CLEANSE AND GET MOVING
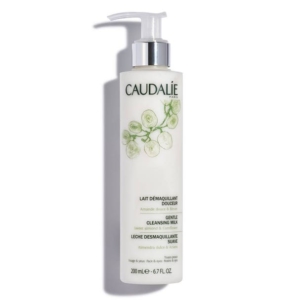
First thing I recommend is having the bride make herself a cup of Green Tea to wake up the system, first thing in the morning, which delivers some necessary antioxidants and caffeine! While she is enjoying her cup of tea, she should take the two steeped teabags and put them in the refrigerator to cool down. While waiting for the teabags to cool down, I recommend giving the skin a gentle cleanse, free from any acids or treatment ingredients–this is not the time to use salicylic or glycolic products. The bride will have thoroughly cleansed her skin the night before, so this morning step is simply about surface cleansing and awakening the blood flow. I always recommend keeping the water as cold as you can tolerate.
STEP 2. DE-PUFF AND SCULPT
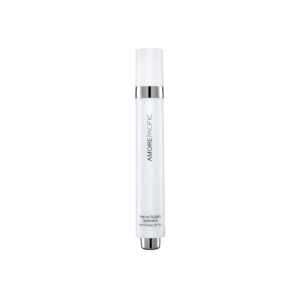
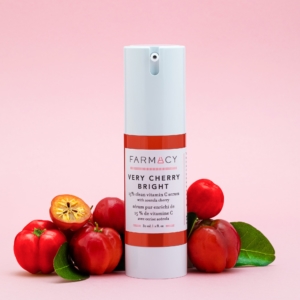
Once cleansed it’s time to focus on de-puffing and sculpting, to give the face, as my client Kim Kardashian-West says, the “Snatched” look. After about 20 minutes retrieve the teabags from the fridge and lay them over the eyes. Keep them on for 5-10 minutes, which is going to allow the caffeine from the teabags to constrict the blood vessels to reduce swelling and inflammation. If this is a little too craft, look for an eye serum with a cooling metal roller ball and caffeine as primary ingredients. I love to follow this step using two chilled-teaspoons kept in the freezer overnight, which I then lay over the eyelids, before gently massaging the undereye from the inner-corner of the eye by the nose to the outer corner of the eye. Repeat this 3 times on each side with a gentle rocking motion to break up and move out all that lymphatic build up, which significantly contributes to the appearance of dark circles, bags and overall fatigue. I recommend using a serum that is rich in Vitamin C, a potent antioxidant that instantly brightens the skin and helps to combat dullness and fatigue caused by lack of sleep (who’s sleeping the night before their wedding?!) champagne consumption and other environmental factors.
STEP 3. CONTOURING FACIAL MASSAGE
Now it’s on to facial massage – an important step to not only help define facial contours but can also provide a welcome meditation, to help centre oneself for the day ahead. For this step I like to use a gel product or double up on serums to give a slight slip to the skin. Be liberal with application.
To warm up the skin, one should run one’s fingers all over their face with short staccato movements, as though playing the piano. This is like a warm up that relaxes facial muscles before going into the massage portion.
On the forehead with a little pressure, gently move the fingers up and down, left and right in a zig-zag motion. Go back and forth stretching the skin in the opposite direction. This helps to tighten frown lines and releases tensed muscles on the forehead.
With the help of two fingers gently press the temples of the head and slowly move from left to right in circular motions. After this gently pinch the eyebrows a few times. Also press with moderate firmness the center of the forehead and below the ears in circular motions. This is all working to move away toxins, and water-retention.
It’s now time to go back to the eyes for a moment. Take an eye serum or cream and apply a small amount under each eye. Move the ring finger around the under-eyes in a ‘C’ motion gently. Start with broad sweeps and then alternate between short staccato movements.
Work on the cheeks and general facial contours. Stroke hands in an upward motion from the under the cheek bones, pushing up with strong intention. From here, take the heel of the hand and press firmly under the cheeks, moving the pressure from the inner cheek to the higher cheek by the ears. This really works to give the cheekbones a far more cut-glass appearance. Additionally, it is really helping to increase blood flow which instantly gives the skin more energy and color. To unblock sinus pressure gently squeeze the nose from the tip, up the sides and finish at the forehead with a circular massage. Do this 3 times.
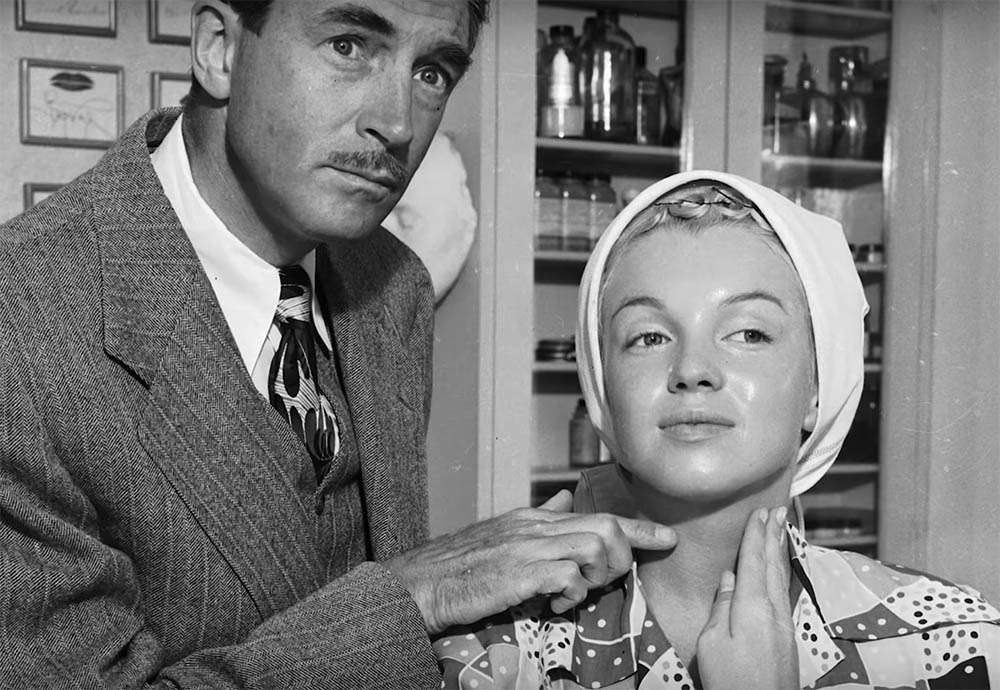
The Lymph nodes typically located under your chin and neck, collect all the toxins and push it down, so push it down from the font of the chin towards your neck, working along the throat and jawline. You should already see great results with the face looking actively thinner and more toned.
Step 4: GLOWY SKINCARE
Once we have completed the facial massage it’s important to layer on skincare that is going to keep the skin, fresh, and glowy all day long.
The right products will help makeup remain fresh, dewy and alive, reducing the amount of touch-ups throughout the day, and ensuring skin looks like skin and is optimized from the walk down the aisle to the carry over the threshold.
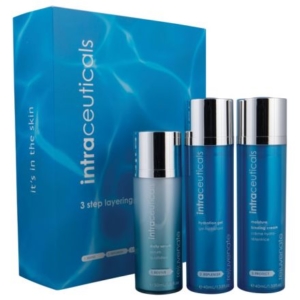
For this purpose, I always layer on top an additional serum and cream rich in Hyaluronic acid. Hyaluronic Acid can hold a thousand times its weight in water, and both deeply hydrates and topically moisturizes. Skin takes on an otherworldly glow, and skin is left bouncy, supple, calm and smooth. Cheeks and lips are plumped and there is a freshness that no other ingredient can impart to the skin, in quite the same way. My favorite hyaluronic products to use is the 3 Step Rejuvenate collection from Intraceuticals.
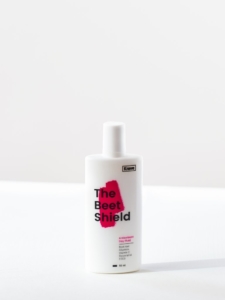
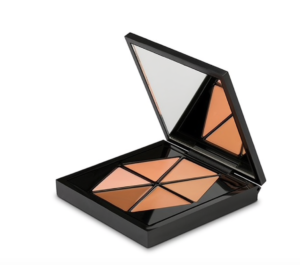
STEP 5: SUN PREP
The final step before makeup would be to select the right sun protection. This can be incredibly tricky, as often sunscreen can flatten the skin and disguise the glow that we have worked so hard to achieve. My secret weapon for this – and one I advise all my celebrity clients to use is the Beet Shield from Krave Beauty, an antioxidant fluid, glow is maximized, while still offering protection and not eating away at the makeup. If throughout the day, skin is requiring more concealer, than a simple trick is to take your HA rich serum and mix it with a little bit of concealer, this will provide the coverage needed but keep everything fresh and youthful.
